“How to Use a Blender” is a topic that many kitchen enthusiasts, health-conscious individuals, or those just beginning their culinary journey might find interesting. Blenders are a versatile kitchen tool, capable of creating everything from smoothies to soups, and even grinding grains into flour. However, to truly unlock the potential of this device, it’s essential to understand its proper usage.
For beginners, the operation of a blender may seem intimidating due to the various functions and settings. Yet, the reality is quite the opposite. With a little practice and guidance, mastering the use of a blender can become a simple, even enjoyable task.
This guide aims to demystify the process, breaking down the steps in an easy-to-understand manner. Whether you’re a novice in the kitchen or an experienced home chef looking to refine your skills, this introduction to using a blender will provide the basis you need to start blending like a pro.
How to Use a Blender
Before delving into the steps, it’s crucial to familiarize yourself with your blender’s individual components. Typically, a blender consists of a base that houses the motor, a jug or container, a lid, and a control panel with various settings.
Some models may also include additional attachments or features. Understanding these elements and their functions is fundamental to getting the most out of your blender. Let’s begin our journey into the world of blending.
Step 1: Understand Your Blender
The first thing to do is familiarize yourself with your blender. It may seem basic, but all blenders are not created equal. Some have specific functions designed for certain tasks, while others are more general-purpose machines.
Step 2: Set Up Your Blender
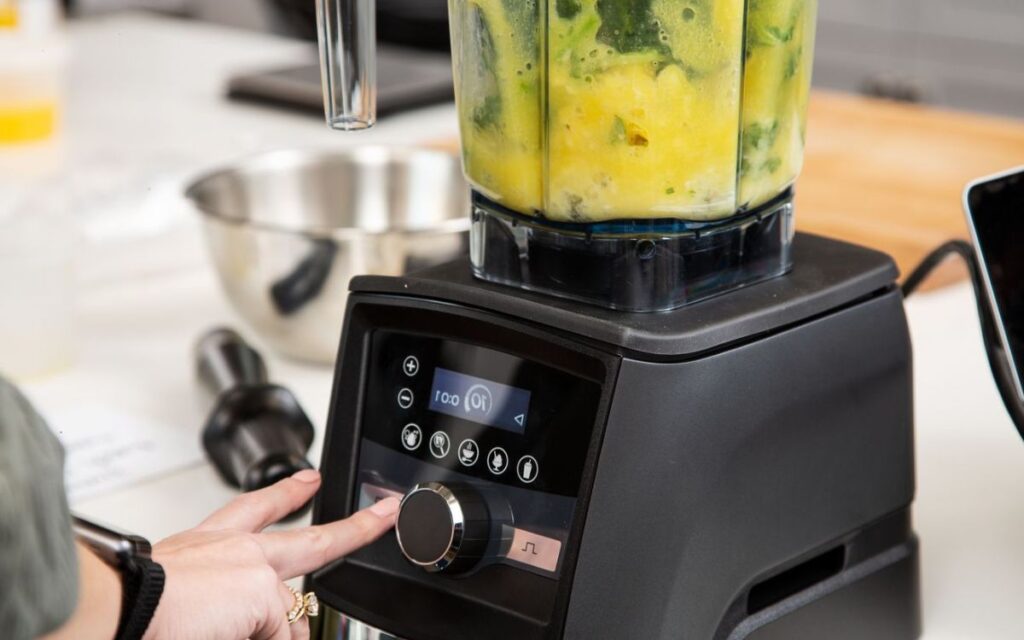
Before you start blending, make sure your blender is correctly assembled and set up. The blade should be secured tightly to the bottom of the blender jar. The lid must fit snugly on top to prevent any spills or splatters during operation.
Step 3: Add Ingredients
When adding ingredients to your blender, there’s a recommended order to follow. Begin with liquids, like water, milk, or juice, as these help the blender’s blades move more efficiently.
Step 4: Blend Gradually
When it’s time to blend, start at a lower speed and gradually increase it. This technique prevents the blades from getting stuck and helps achieve a more even consistency.
Step 5: Clean Your Blender
Cleaning your blender immediately after use will save you a lot of effort. The longer the remnants sit, the harder they become to remove.
Step 6: Maintenance and Care
Lastly, it’s vital to maintain your blender. Regular checks on the motor and blades will prolong the blender’s life, ensuring it continues to operate efficiently and safely.
By following these steps, you will not only achieve the best results from your blending tasks but also ensure the longevity of your appliance. Happy blending!
FAQs
Blenders have served as a staple kitchen appliance in many households, proving to be an indispensable tool for foodies and health enthusiasts alike. They can aid in the creation of a wide range of food items, from smoothies and soups to sauces and more. Yet, despite their popularity, many users still harbor questions about their proper use, care, and capabilities.
Can I use my blender to crush ice?
To crush ice in a blender, you must ensure that your blender is sufficiently powerful and equipped with sturdy blades. Not all models can handle such a task, and doing so with a less capable machine could damage the motor or the blades. High-performance blenders are typically capable of crushing ice. It’s important to refer to your user manual or consult the manufacturer’s instructions to verify whether your model can safely crush ice.
Can I use hot liquids in my blender?
Traditionally, you should avoid putting hot liquids directly into your blender. The heat can create pressure inside the blender, potentially leading to a messy or dangerous explosion. However, some modern, high-end blenders are designed to handle hot liquids. If you’re unsure, it’s best to let the liquid cool before blending. Alternatively, you can invest in an immersion blender, which is designed to blend hot liquids directly in the pot.
Why is my blender not blending properly?
There could be several reasons your blender is not performing optimally. It could be due to overfilling the jar, not following the correct order of ingredients, or using the wrong speed setting. Furthermore, the blades might be dull, or there might be an issue with the motor. Regular maintenance and proper usage following the manufacturer’s instructions can prevent many of these issues.
How often should I replace my blender blades?
The frequency of blade replacement depends on how often you use your blender and what you blend. On average, it’s recommended to replace blender blades every 12-18 months, but this can vary. If you notice any signs of damage or dullness, or if your blender isn’t blending as efficiently as usual, it might be time for a replacement. Always use the manufacturer’s parts for replacements to ensure proper fit and function.
What is the difference between a blender and a food processor?
While blenders and food processors may look similar, they serve different purposes in the kitchen. A blender is designed for liquids and soft foods, making it perfect for smoothies, soups, or purees. On the other hand, a food processor handles solid food better and is ideal for chopping, slicing, and grating. Both appliances have their distinct uses and can be valuable additions to any kitchen.
Final Thought
Blending is an art made simpler with the right equipment and knowledge at your disposal. With the guidelines provided in this document, you’re well on your way to mastering your blender and the myriad of culinary creations it can deliver.
The key to successful blending lies in understanding your blender’s capabilities and limitations. It’s about respecting the sequence of ingredients added and the gradual escalation of blending speeds. Regular maintenance and cleaning further contribute to your blender’s performance and longevity.
Remember, not all blenders are created equal. Some are built for heavy-duty tasks like crushing ice or handling hot liquids, while others are more suited for basic blending jobs. It’s crucial to refer to your user manual and utilize your blender within its specified capacity.
Your blender is more than just an appliance—it’s a passport to a world of culinary exploration. Whether you’re crafting a nutrient-packed smoothie, a hearty soup, or a gourmet sauce, your blender is there to ensure smooth, consistent results.
With this newfound knowledge and understanding, we hope you’re excited to embark on your blending journey. The perfect blend is no longer a mystery but a skill you’ve now mastered. Happy blending!