“How to Replace a Kitchen Faucet” is an essential home improvement skill that every homeowner should know. The kitchen faucet is a critical component of your home, and over time, it may wear out or become outdated, necessitating a replacement.
The process can seem daunting if you’re not familiar with plumbing. However, armed with the correct tools and a systematic approach, it becomes an achievable task. This introductory guide aims to empower any homeowner to take on this project confidently.
We’ll provide insights into the initial steps, including the selection of a new faucet that matches your kitchen design and functionality. This introduction is the stepping stone to mastering this vital do-it-yourself skill, paving the way for self-reliance and the rewarding feeling of accomplishing a home improvement task on your own.
Join us as we navigate the basics of replacing a kitchen faucet, turning a seemingly complex task into a manageable home improvement project.
How to Replace a Kitchen Faucet
Welcome to the first step in your faucet replacement journey. Replacing a kitchen faucet can seem intimidating, but with the right guidance, it’s a task you can tackle with confidence.
We’ll walk you through each step, from the removal of your old faucet to the installation of the new one. So don your handyman hat, gather your tools, and let’s dive into this rewarding DIY project together.
Step One: Gather Your Tools
The initial step in any DIY project is to assemble the necessary tools. For this task, you will need an adjustable wrench, plumber’s tape, a basin wrench, and possibly a pair of pliers. Having all the tools at your disposal will facilitate a smooth process.
Step Two: Turn Off the Water
Before proceeding with the replacement, ensure you turn off the water supply to avoid a potential flood. Look beneath your sink for the valves; turning them in the clockwise direction will shut off the flow. If your sink lacks shut-off valves, you might have to turn off the main water supply.
Step Three: Remove the Old Faucet
Now, it’s time to remove the old faucet. Start by loosening the nuts securing the faucet to the sink using your basin wrench. After this, disconnect the water lines. The old faucet should then be easy to lift out.
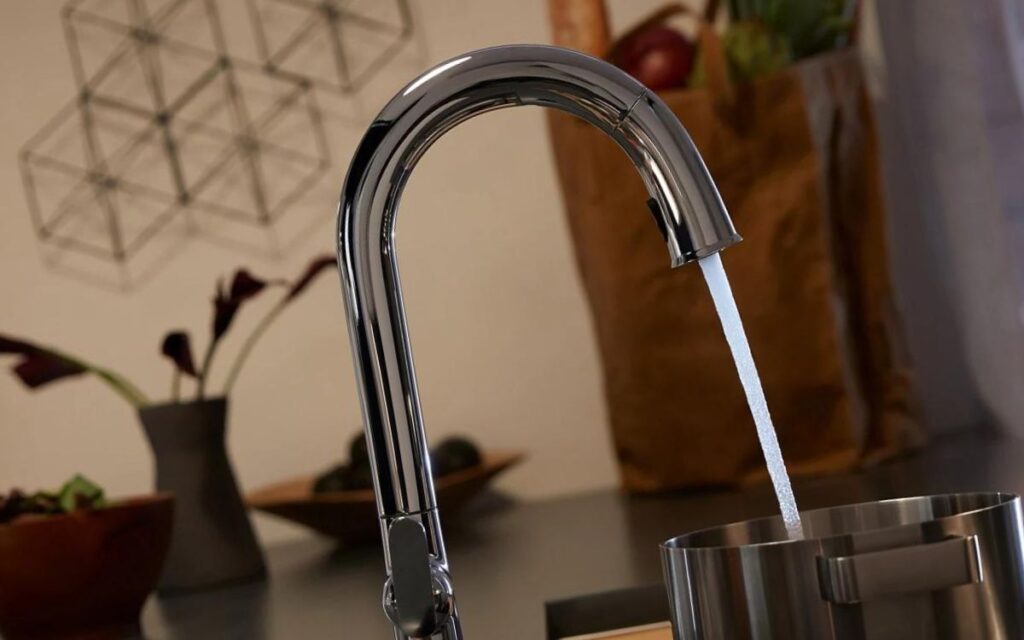
Step Four: Install the New Faucet
Clean the sink surface before installing the new faucet. Follow the manufacturer’s instructions to position your new faucet correctly. Secure the faucet in place with the nuts provided. Remember to apply plumber’s tape where necessary to prevent leaks.
Step Five: Reconnect the Water Supply
Finally, reconnect the water supply lines to the new faucet. After everything is in place, turn on the water supply and check for leaks. If all is well, congratulations! You’ve successfully replaced your kitchen faucet.
See more: How To Clean Faucet Head
FAQs
Faucet replacement is an essential skill that any homeowner should have under their belt. Though it may seem challenging initially, with the right tools and guidance, it becomes quite manageable. As you venture into this DIY journey, you’ll learn how to handle basic plumbing tasks, resulting in a sense of accomplishment.
What are some signs that I need to replace my faucet?
One obvious sign is persistent leaking, despite attempts to repair it. Over time, the components of your faucet may wear out, often resulting in leaks that can’t be fixed with simple adjustments or replacements.
Another common sign is rust or mineral buildup, which can impact the water flow and quality. Additionally, your faucet may simply become outdated, and a new one can update the look of your kitchen. Lastly, if the faucet becomes too difficult to turn on or off, it’s probably time for a replacement.
Should I hire a professional to replace my kitchen faucet?
While hiring a professional plumber is always an option, replacing a kitchen faucet is a task that many homeowners can handle on their own. With a little guidance and the right tools, you can complete the project yourself. T
his can be more cost-effective and gives you the satisfaction of completing a home improvement task independently. However, if you encounter difficulties or the faucet involves complex features, you might want to consider getting professional help.
Do I need to replace my faucet if it’s leaking?
Not necessarily. Leaks can often be fixed by replacing a worn-out washer or seal. However, if the faucet continues to leak despite multiple repair attempts, it might be time for a replacement. In addition, if the faucet is old, the cost of constant repairs might surpass that of installing a new one. Therefore, it’s advisable to consider replacing it in such situations.
How do I choose the right faucet for my kitchen?
Choosing the right faucet depends on a number of factors, such as the current kitchen design, the size of your sink, and personal preferences. Consider a faucet that matches your kitchen’s style and complements other fixtures.
Think about features you want, such as a sprayer, pot filler, or touchless operation. Additionally, ensure the faucet you choose fits well in the sink and doesn’t cause splashing due to being too high or too low.
How often should I replace my kitchen faucet?
The frequency of faucet replacement depends on the quality of the initial installation, the hardness of your water, and how heavily the faucet is used. However, most faucets can last anywhere between 15 to 20 years.
If your faucet is within this age range and experiencing problems, it might be time to consider a replacement. Regular checkups can help identify issues early and prolong the lifespan of your faucet.
Final Thought
Embarking on a DIY journey can be thrilling, empowering, and financially rewarding. It’s an opportunity to learn new skills, such as replacing a kitchen faucet, that can transform your home improvement experience. With a step-by-step guide, important FAQs, and the right tools, you’re set to make this task a success.
Remember, the initial steps involve gathering the necessary tools and turning off the water supply. These steps are crucial in setting the stage for the rest of the process. Avoid rushing over them to prevent any mishaps or inconvenience down the line.
As you remove the old faucet, take care to avoid damaging the sink or the water lines. It’s a delicate process that needs patience and precision. The same care should be taken during the installation of the new faucet.
Reconnecting the water supplies the final test for your installation. It’s a moment of truth that will confirm if you’ve successfully completed the task or if there are any leaks that need addressing.
Mastering the art of faucet replacement not only saves you the cost of hiring a professional but also equips you with a valuable skill. This practical, hands-on experience gives you the confidence to tackle other DIY projects in your home. Keep learning, keep improving, and most importantly, enjoy the process!